How to Make a Family Emergency Plan
A family emergency plan lists your contacts, two meeting places, evacuation routes, shelter spots and each person's needs. Write it down together and practice it twice a year.

A family emergency plan is a short, written agreement about what everyone in your household will do when something goes wrong: who you call, where you meet, how you leave, where you shelter and who needs extra help. It does not need to be long. A good plan fits on two pages and takes one evening to make.
The steps below follow guidance from Ready.gov and the American Red Cross. Work through them together as a household, write down what you decide, and practice it. If you want a fill-in-the-blanks version as you go, use the free family emergency plan template and print the result.
Local officials’ instructions always come first. Your plan is what you do until they tell you otherwise, and it helps you act fast when they do.
Why a written plan matters
Most emergencies do not happen when everyone is home together. A fire starts at night, a storm hits while kids are at school, a power outage lasts longer than expected, or cell networks jam right when you need them. Without a plan, every family member has to make decisions alone, under stress, with incomplete information.
A written plan removes guesswork. Everyone knows the meeting spot, who to call and what to grab. It also makes sure the details that are easy to forget (a child’s allergy, an aging parent’s medication, the cat) are thought through before the moment you need them.
Step 1: Hold a family planning meeting
Start by sitting down with everyone who lives in your home, including older kids and anyone who helps care for your household. Ready.gov suggests covering four questions at this first meeting:
- How will we receive emergency alerts and warnings?
- What is our shelter plan?
- What is our evacuation route?
- What is our family or household communication plan?
Then talk about which emergencies are most likely where you live. The Red Cross recommends planning for the hazards in your region (hurricanes, tornadoes, earthquakes, wildfires, winter storms) as well as ones that can happen anywhere, like home fires and floods. Note which ones would make you stay home and which would make you leave.
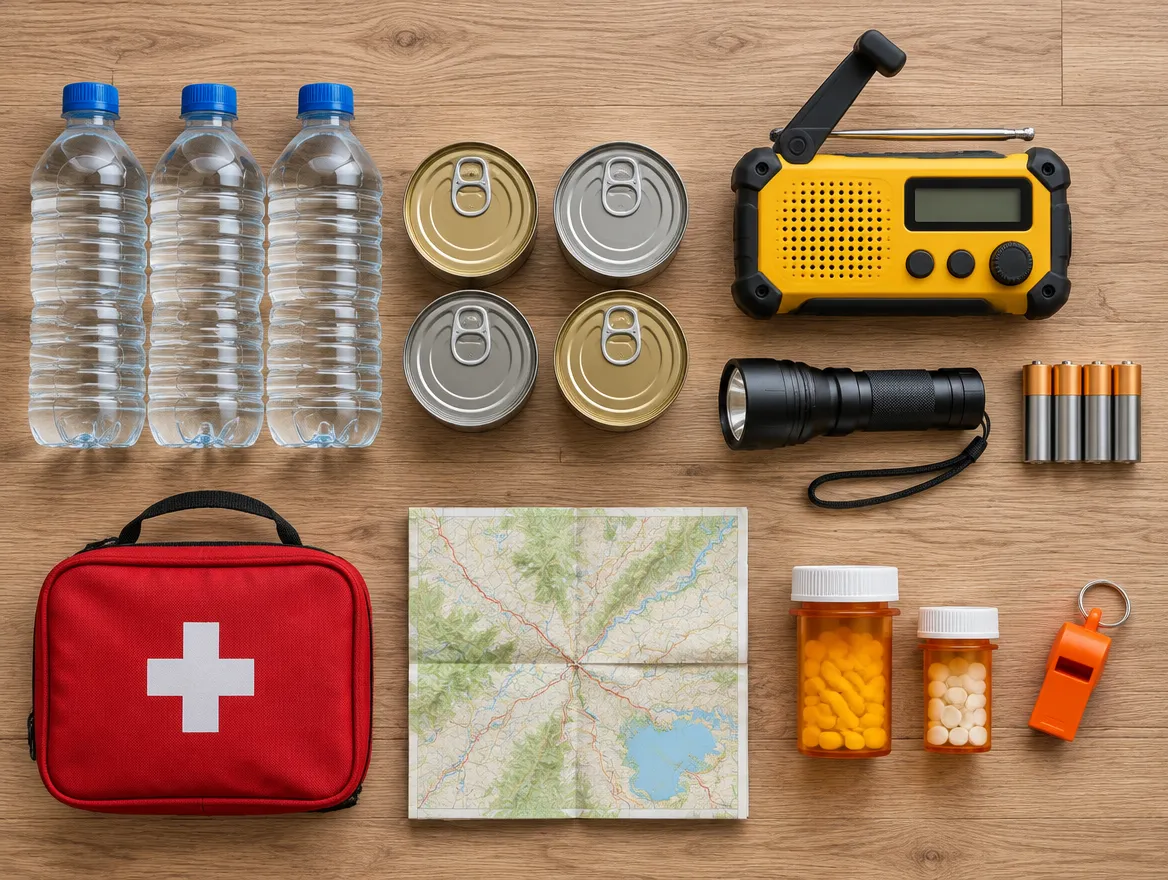
For alerts, sign up for your county or city emergency alerts, make sure Wireless Emergency Alerts are turned on in every phone’s settings, and consider a battery-powered or hand-crank NOAA Weather Radio.
Step 2: Build your communication plan
Phones are the first thing people reach for and often the first thing to fail. Your communication plan should work even when calls do not go through.
Choose an out-of-area contact
Pick one relative or friend who lives in another region. The Red Cross explains that it may be easier to call or text long distance when local lines are overloaded or out of service. Everyone in the family checks in with that person, who keeps track of who is safe and where.
Write the numbers down
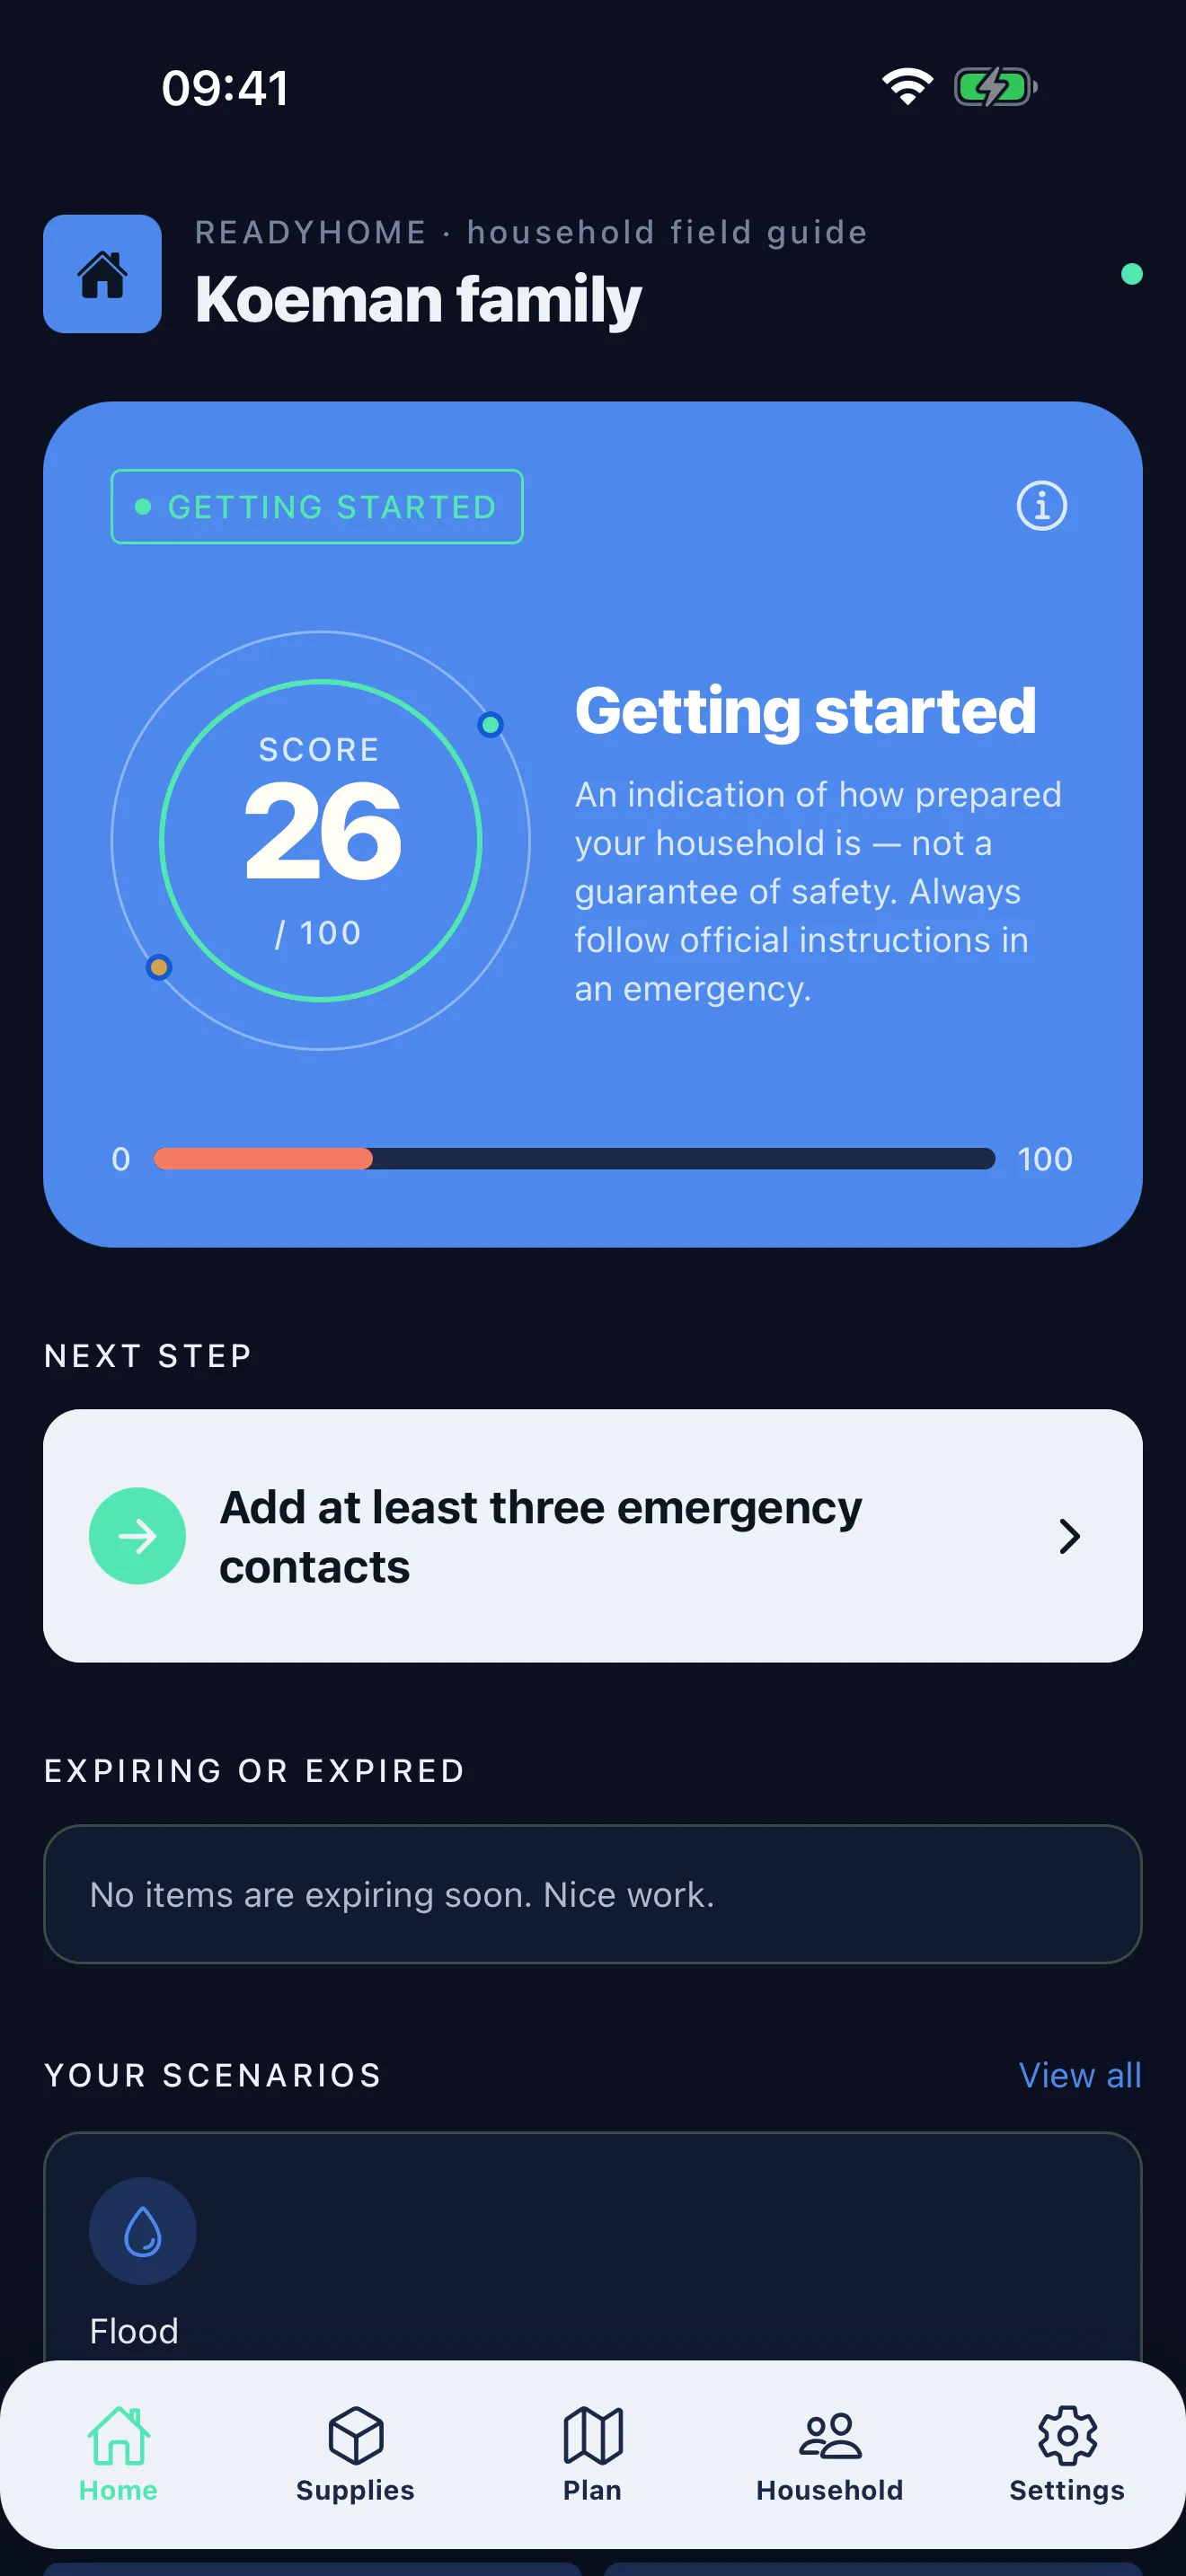
Everyone should carry key phone numbers in writing and saved on their phone. Few of us memorize numbers anymore, so a dead phone can leave a child with no way to reach a parent. Our guide to building an emergency contact list covers exactly what to include and how to make wallet cards for kids.
Agree on texting first
Text messages often get through when calls cannot, and they use less battery. Agree as a family to text first, keep calls short, and post a short “we’re safe” update in one place rather than calling everyone individually.
Step 3: Pick your meeting places
The Red Cross recommends choosing two places to meet if you are separated:
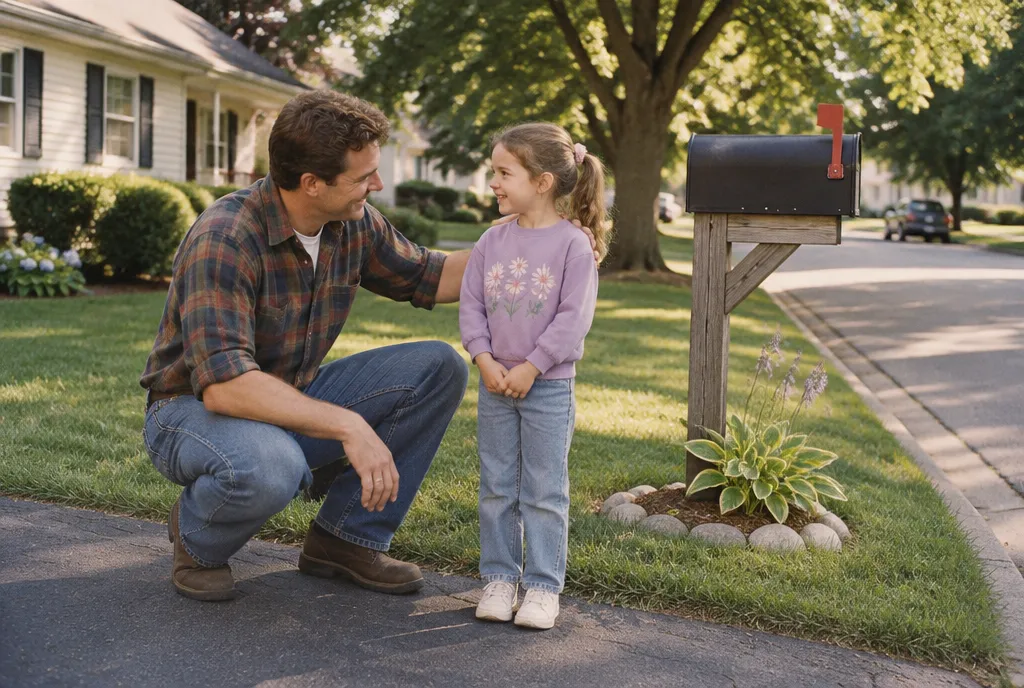
- Right outside your home, for sudden emergencies like a fire. Pick something specific and fixed: the mailbox, a neighbor’s driveway, a particular tree.
- Outside your neighborhood, in case you cannot get home or are told to evacuate. A library, place of worship or relative’s house works well.
Some families add a third spot farther away, such as a relative’s home in another town, for large-scale evacuations. Write the full address of each place in your plan so a babysitter or grandparent can find it too.
Step 4: Plan your evacuation routes
When officials order an evacuation, you need to know where you are going and how you will get there. Ready.gov recommends identifying several places you could go, such as a friend’s home in another town or a motel, and choosing destinations in different directions so you have options.
Use these steps:
- Look up whether your area has designated evacuation zones or routes on your state or county emergency management website.
- Pick at least two destinations in different directions.
- Map a main route and an alternate route to each. Save them on phones and keep a paper map, since GPS and data may not work.
- Decide what you will do if you do not have a car or if one adult has the car at work.
- Remember that your evacuation route may be on foot, depending on the disaster.
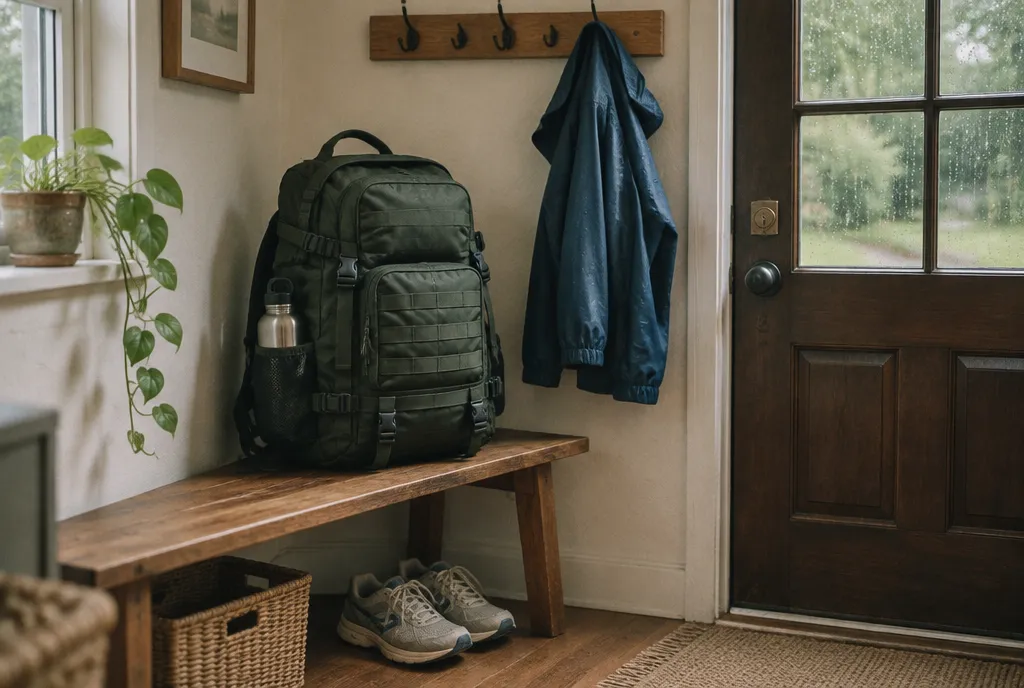
The Red Cross recommends practicing your evacuation twice a year: grab your go bag, then actually drive your planned route. For what to pack, see our go bag checklist.
Step 5: Plan where to shelter in place
Not every emergency means leaving. Tornadoes, winter storms, extended power outages and some hazardous materials incidents call for staying put. Your plan should name the best room in your home for each situation.
- Tornado or severe wind: the lowest floor, in an interior room or closet without windows.
- Chemical or air contamination: an interior room with few windows. Ready.gov advises closing windows and vents, turning off fans, air conditioning and forced air heat, and having plastic sheeting and duct tape ready.
- Winter storm or long outage: one room you can keep warm, with blankets, flashlights and water.
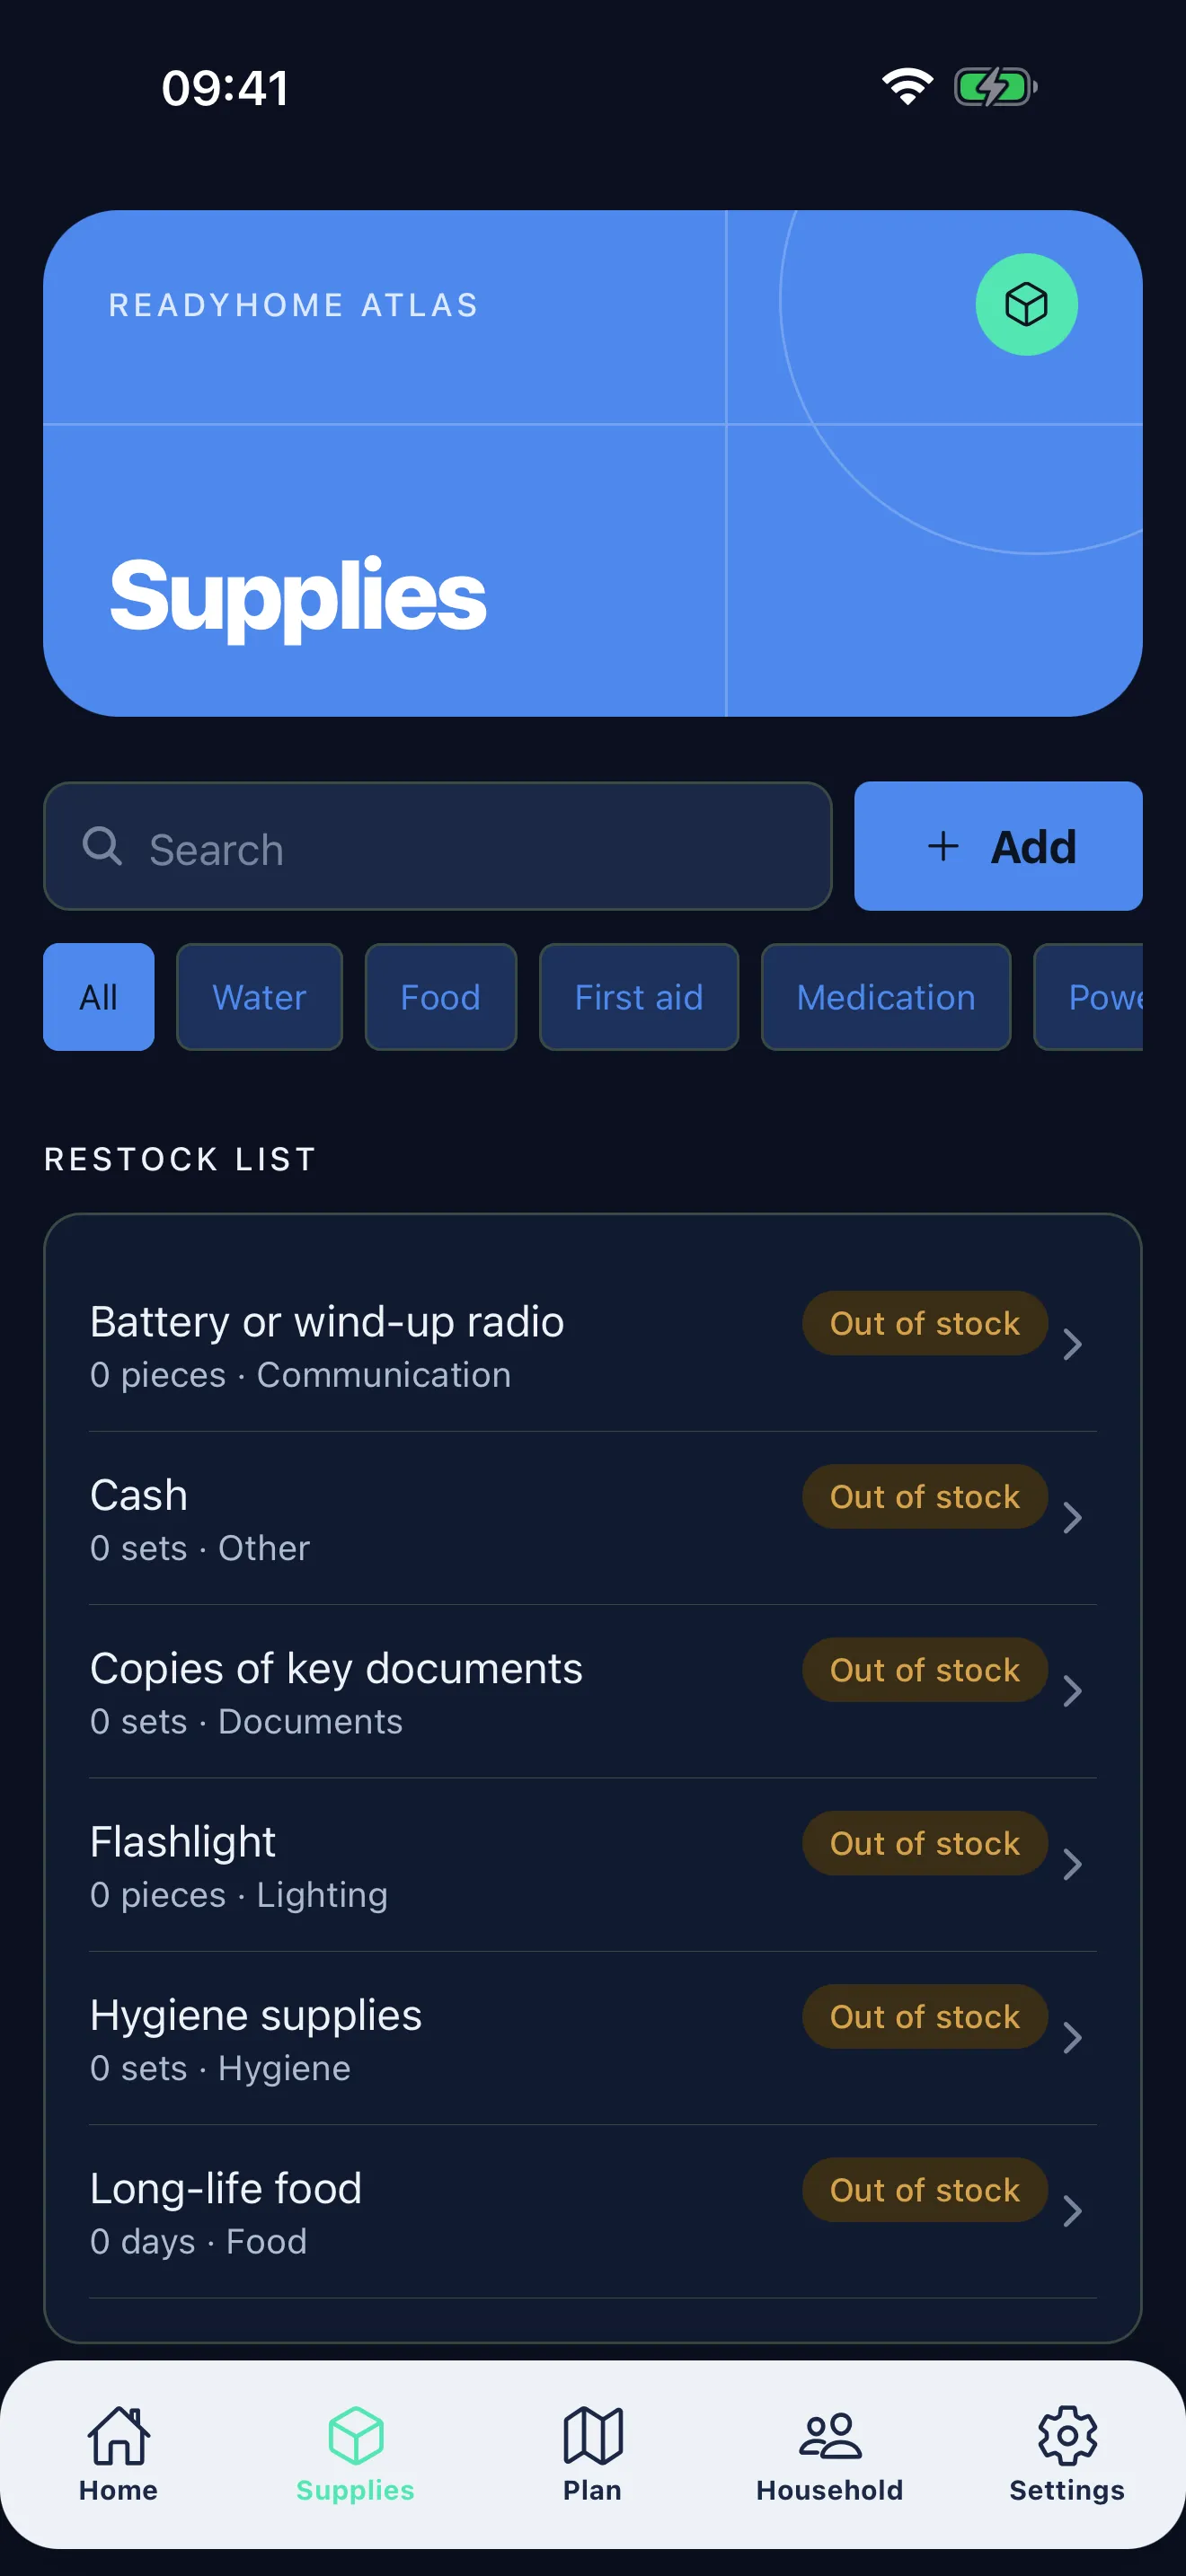
Ready.gov also notes that during longer periods of sheltering you will need to manage food and water carefully, which is where your home supply comes in. Our 72-hour kit checklist explains the difference between a 72-hour kit, a go bag and a 2-week home supply.
Step 6: Give everyone a role
The Red Cross recommends identifying responsibilities for each household member so you work as a team. Roles make drills faster and real emergencies calmer. Some examples:
- One adult grabs the go bags and phone chargers.
- Another adult is responsible for a specific child, older adult or person who needs help moving.
- An older child takes the pet carrier and leash.
- One person checks the out-of-area contact and sends the group text.
Always name a backup for each role, in case someone is at work, traveling or injured.
Step 7: Plan for kids and school
Children spend much of the week away from home, so your plan has to reach them there.
- Get each school’s and daycare’s emergency plan. Ask how they notify parents, where they would evacuate students and how reunification works.
- Keep their contact list current. The Red Cross recommends that places where your children spend time also have your emergency contact numbers.
- List authorized pickup people. If you cannot reach the school, who can? Make sure that person is on the school’s approved list.
- Teach the basics. Kids should know their full name, a parent’s name and phone number, your meeting spot and how to dial 911.
Ready.gov also suggests making backup plans for children in case you cannot get home. A trusted neighbor with a key is often the simplest answer.
Step 8: Plan for older adults and people with medical needs
Ready.gov recommends considering each household member’s age, medical and dietary needs, disabilities, language needs and any pets or service animals when you build your plan. For older adults and anyone with a disability or chronic condition, that means:
- Listing every medication with dose and prescribing doctor, plus allergies.
- Noting medical devices and how they are powered. Anything that needs electricity needs a backup plan for an outage.
- Planning transportation if someone needs help evacuating.
- Keeping copies of Medicare, Medicaid and insurance cards.
- Building a support network: Ready.gov suggests making sure at least one person has a spare key, knows where the emergency supplies are and knows how to use any lifesaving equipment.
The Red Cross recommends keeping a 7-day supply of medications in your emergency kit. Ask your doctor or pharmacist how to build up that reserve safely.
Also plan for family members who live elsewhere part of the year, such as college students, military members on deployment or frequent travelers. The Red Cross suggests deciding how your plan changes when they are home and when they are away.
Step 9: Include your pets
Ready.gov is direct about this: if local officials ask you to evacuate, your pets should evacuate too. Many public shelters and hotels do not allow pets (service animals are always accepted), so plan ahead.
- Keep a list of pet-friendly hotels and boarding options along your evacuation routes.
- Arrange with a neighbor or friend to evacuate your pets if you are not home.
- Microchip your pets and keep the contact information current, including an emergency contact outside your area.
- Pack a pet kit with food, water, medications, a leash, a carrier and a photo of you with your pet.
Step 10: Protect your important documents and money
After a disaster, you may need to prove who you are, where you live and what you own. The Red Cross lists copies of medication lists, proof of address, deed or lease, passports, birth certificates and insurance policies as basic kit items.
Keep paper copies in a waterproof folder in your go bag and store digital copies somewhere secure that you can reach from another device. Ready.gov also recommends keeping a small amount of cash at home in small bills, since ATMs and card readers may not work during a disaster.
Step 11: Know how to shut off utilities
Ready.gov notes that natural gas leaks cause a significant number of fires after disasters. Every adult in your home should know where these shutoffs are:
- Gas: Call your gas company to learn the right procedure for your meter. Do not actually turn it off when practicing. If you smell gas or hear hissing, get everyone out, shut off the main valve outside if you can and call the gas company from a safe distance. Only a qualified professional should turn gas back on.
- Water: Find and tag the main shutoff valve where the water line enters your house. Make sure it closes fully.
- Electricity: Know where your breaker panel is and how to switch off the main breaker.
Step 12: Write it down and share it
A plan that lives only in your head is not a plan. Put it on paper and make sure everyone has access:
- One copy on the fridge or inside a cabinet door.
- One copy in each go bag.
- Key details saved on every phone.
- A copy with your out-of-area contact.
The free family emergency plan template walks you through each section and prints a clean copy. If you would rather keep it on your phone, ReadyHome stores your plan offline and can export it as a PDF.
Step 13: Practice, then review twice a year
Practice turns a document into a habit. Run a home fire drill (see our home fire escape plan guide), walk to your neighborhood meeting spot, and drive your evacuation route. The Red Cross recommends practicing evacuation twice a year.
Use the same two dates each year to review the plan:
- Update phone numbers, schools, jobs and doctors.
- Check medications, glasses and medical supplies in your kits.
- Rotate water and food that are close to expiring.
- Test smoke alarms and flashlights, and replace batteries where needed.
- Ask the kids what they remember. Their answers will tell you what to practice next.
Plan for the emergencies you are most likely to face
Your core plan works for any emergency. After it is done, add a short page for the specific hazards in your area. Each of these guides builds on the plan above:
- Hurricane emergency plan
- Tornado emergency plan
- Earthquake emergency plan
- Flood emergency plan
- Wildfire evacuation checklist
- Winter storm preparedness
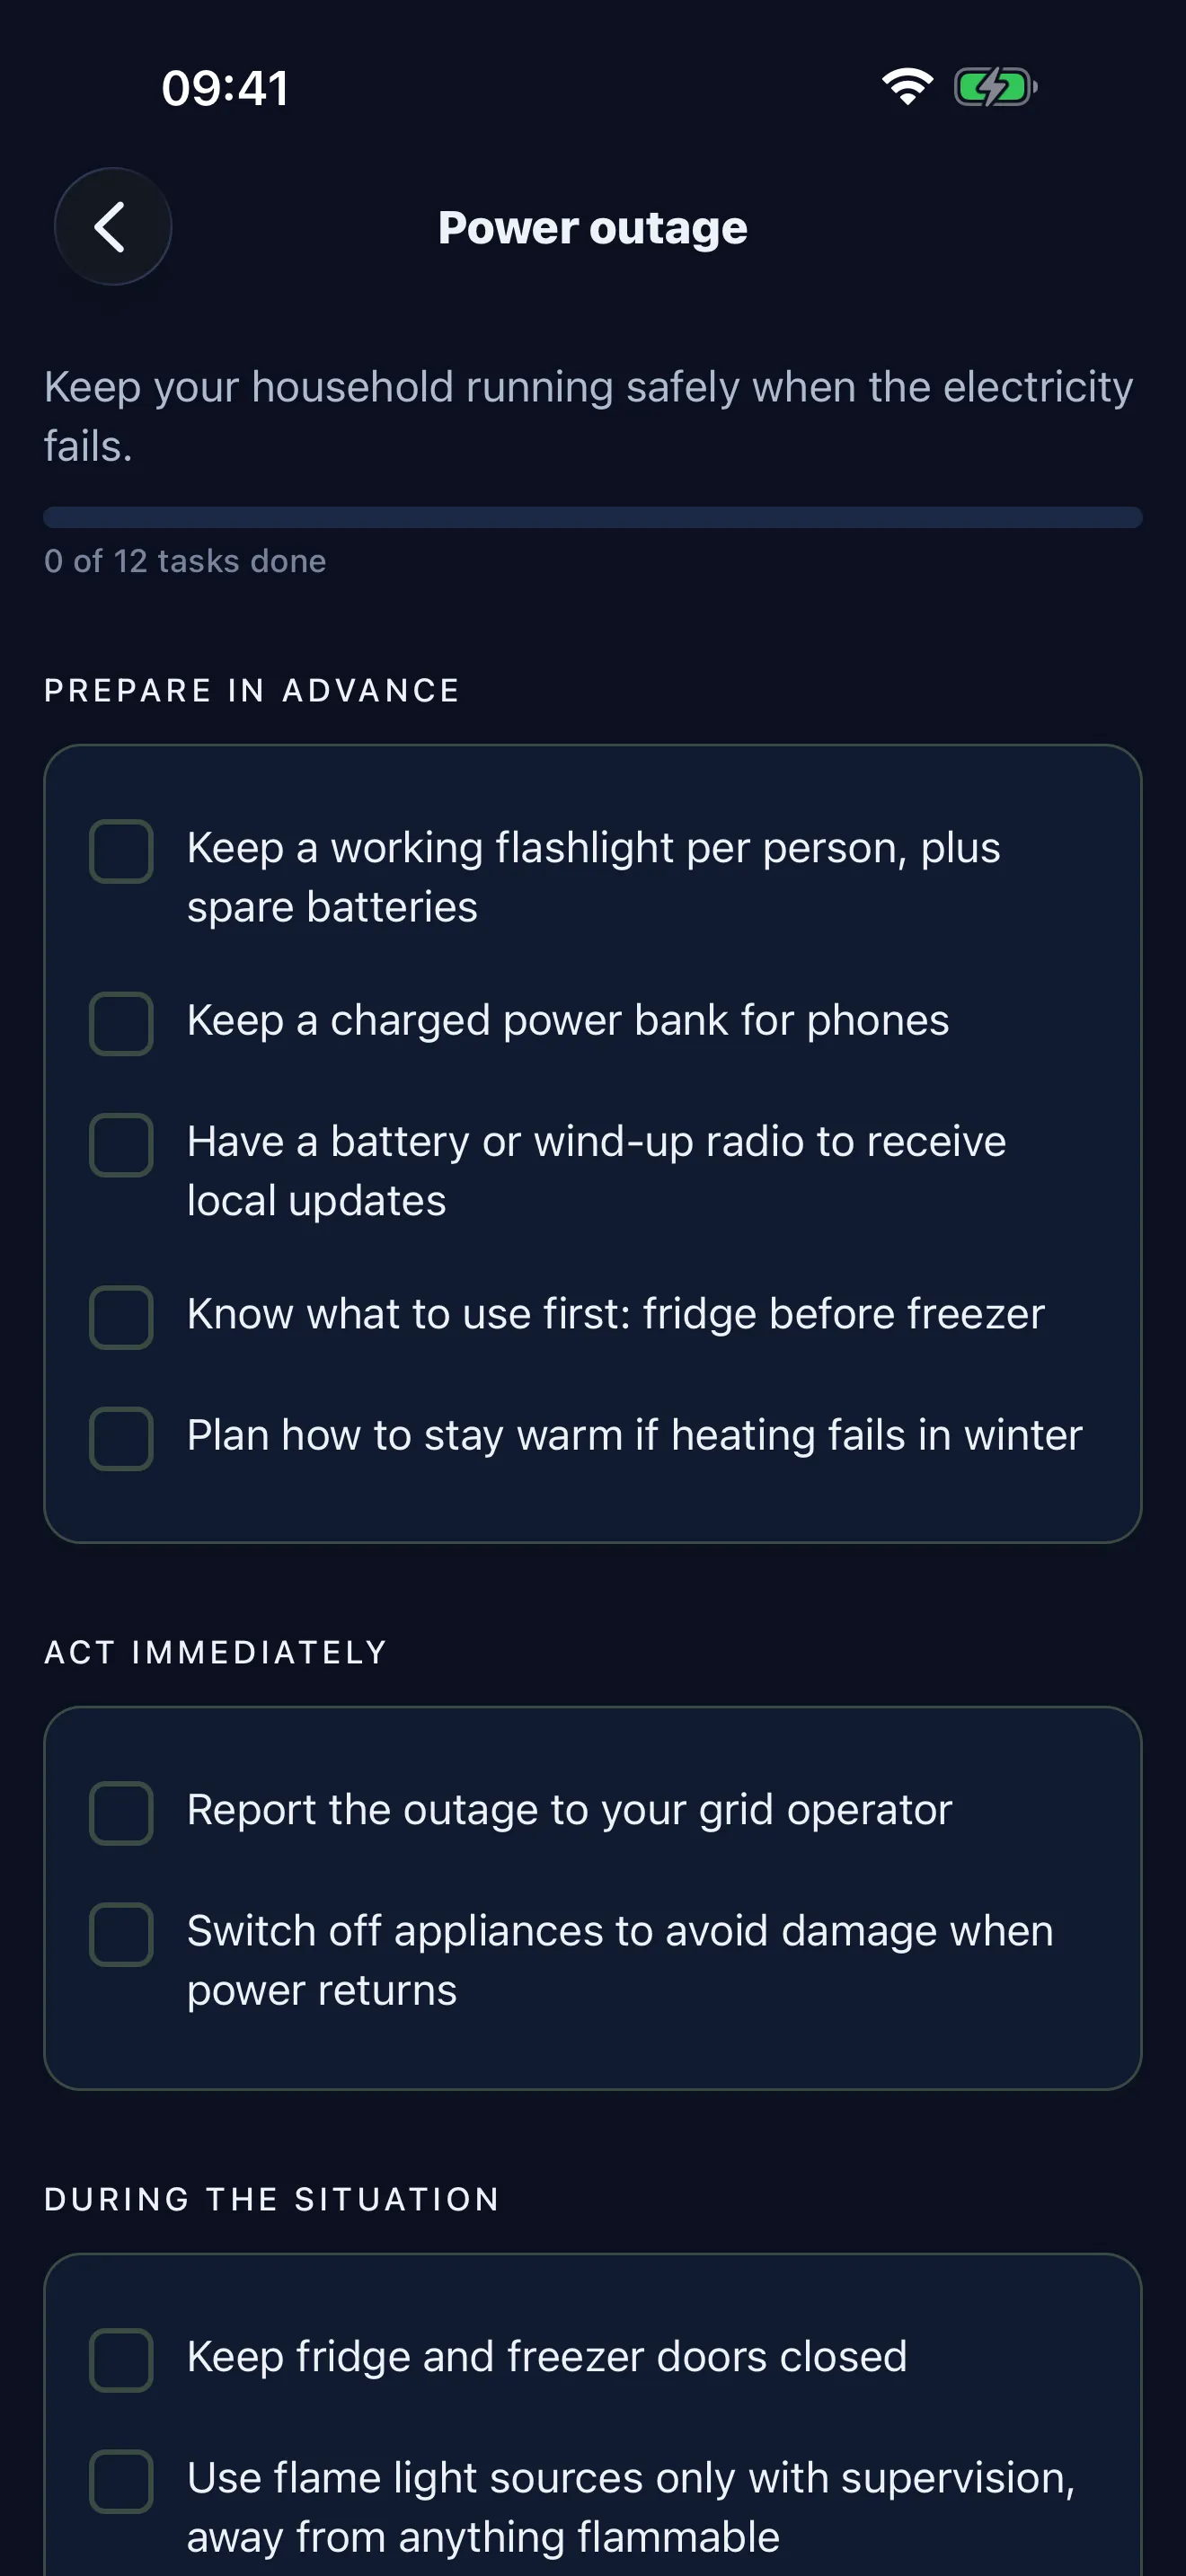
- Power outage emergency plan
Start with the one or two that matter most where you live. A simple plan that everyone knows beats a perfect plan nobody has read.
Family emergency plan checklist
Ticks are saved in this browser only.
Sources
- Ready.gov: Make a Plan
- American Red Cross: Make a Plan
- Ready.gov: Evacuation
- Ready.gov: Shelter
- Ready.gov: Safety Skills (shutting off utilities)
- Ready.gov: Prepare Your Pets for Disasters
Always follow instructions from your local emergency management office. Call 911 in a life-threatening emergency.